Setting Up Remote Access on Mac
To establish a connection over Remotix Cloud, you need to install Remotix Agent on your Mac. Follow these steps:
- Download and install Remotix Agent for Mac on the Mac you want to connect.
- Create a Remotix account if you don’t have one yet.
- Launch the Agent. To allow controlling your Mac remotely, go to System Preferences > Security & Privacy > Privacy > Accessibility and let Remotix Agent access your computer.
– If your Mac is running macOS 10.14 Mojave, you will be asked for additional permissions for Remotix Agent to work. For more information, see Controlling a Mac running Mojave.
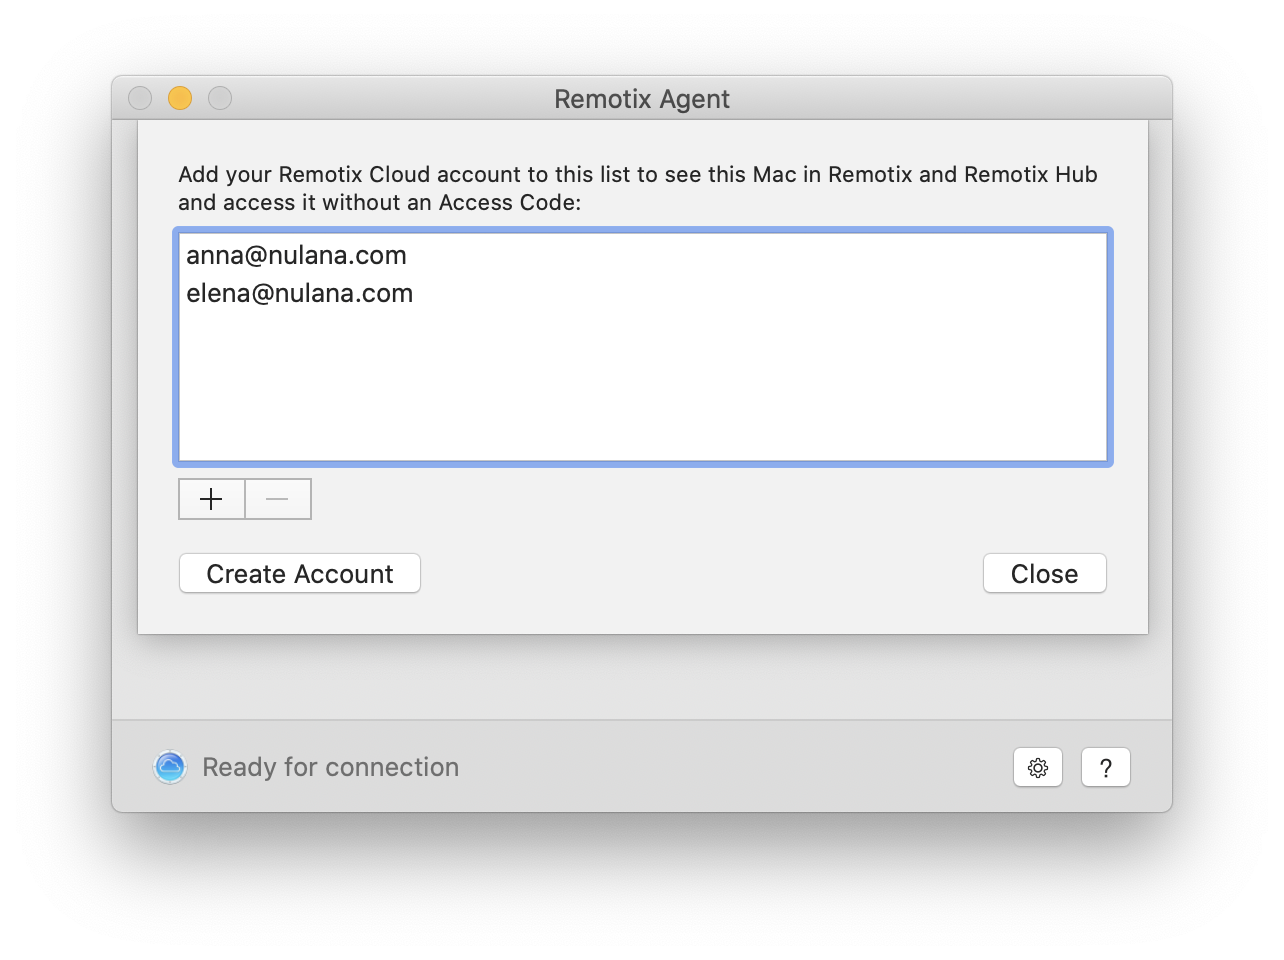
– If your Mac is running macOS 10.15 Catalina or later, you will be asked for more additional permissions for Remotix Agent to work. For more information, see Acquire permissions to control a Mac. - In Remotix Agent, go to the Users section and add your Remotix Cloud account to the Trusted Users list:
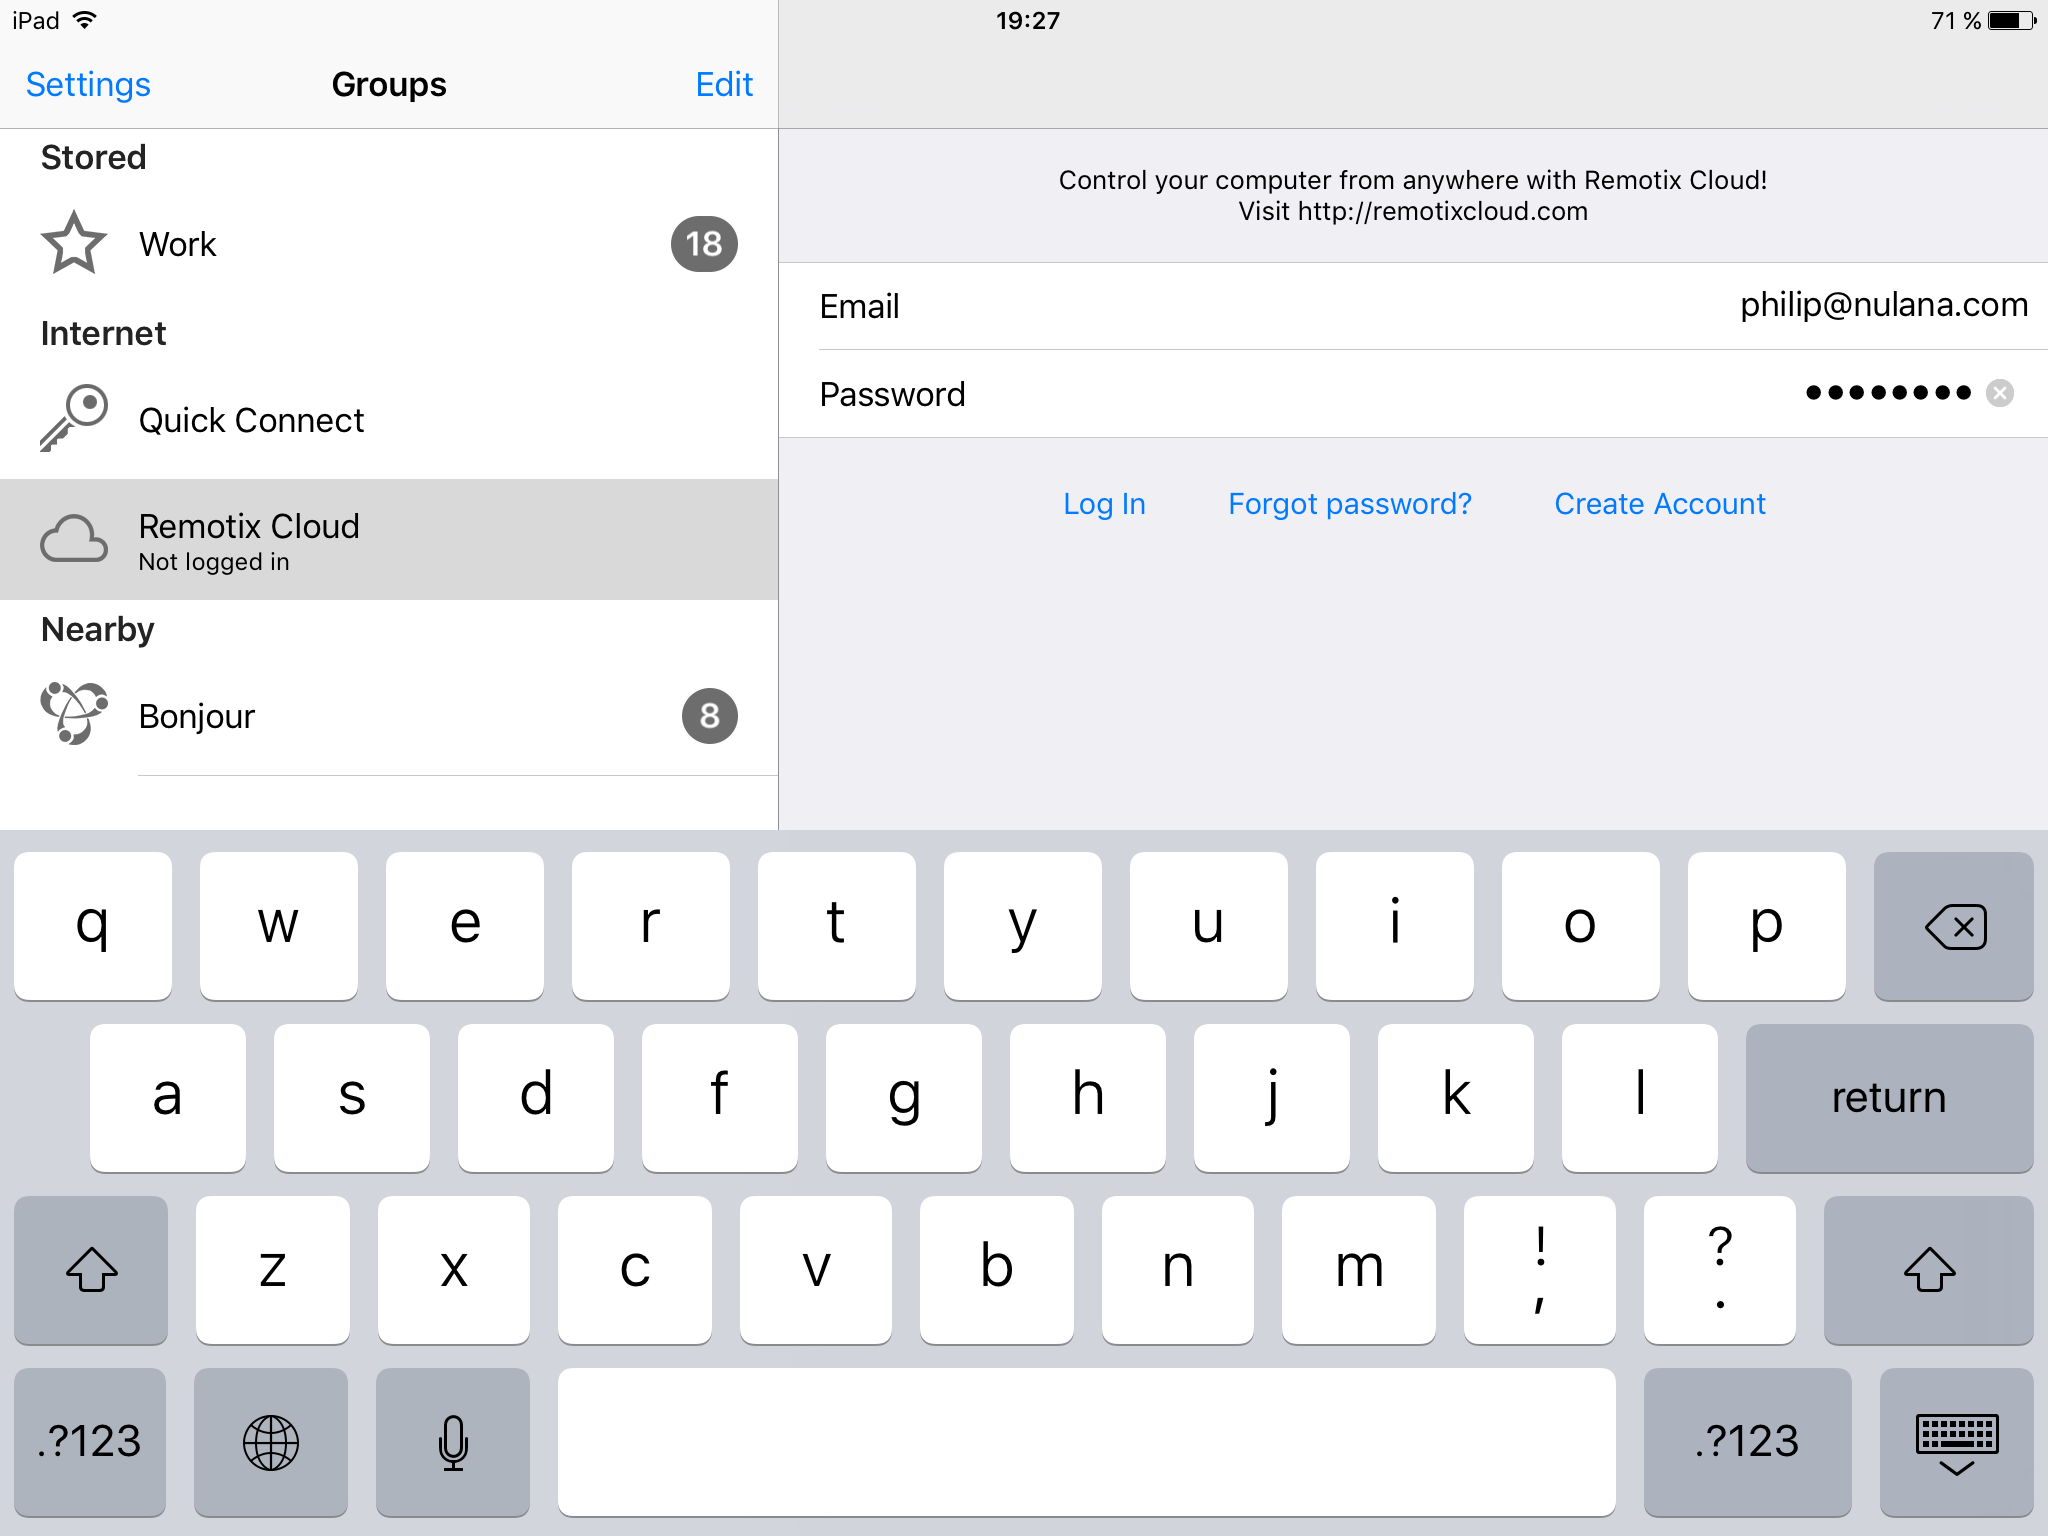
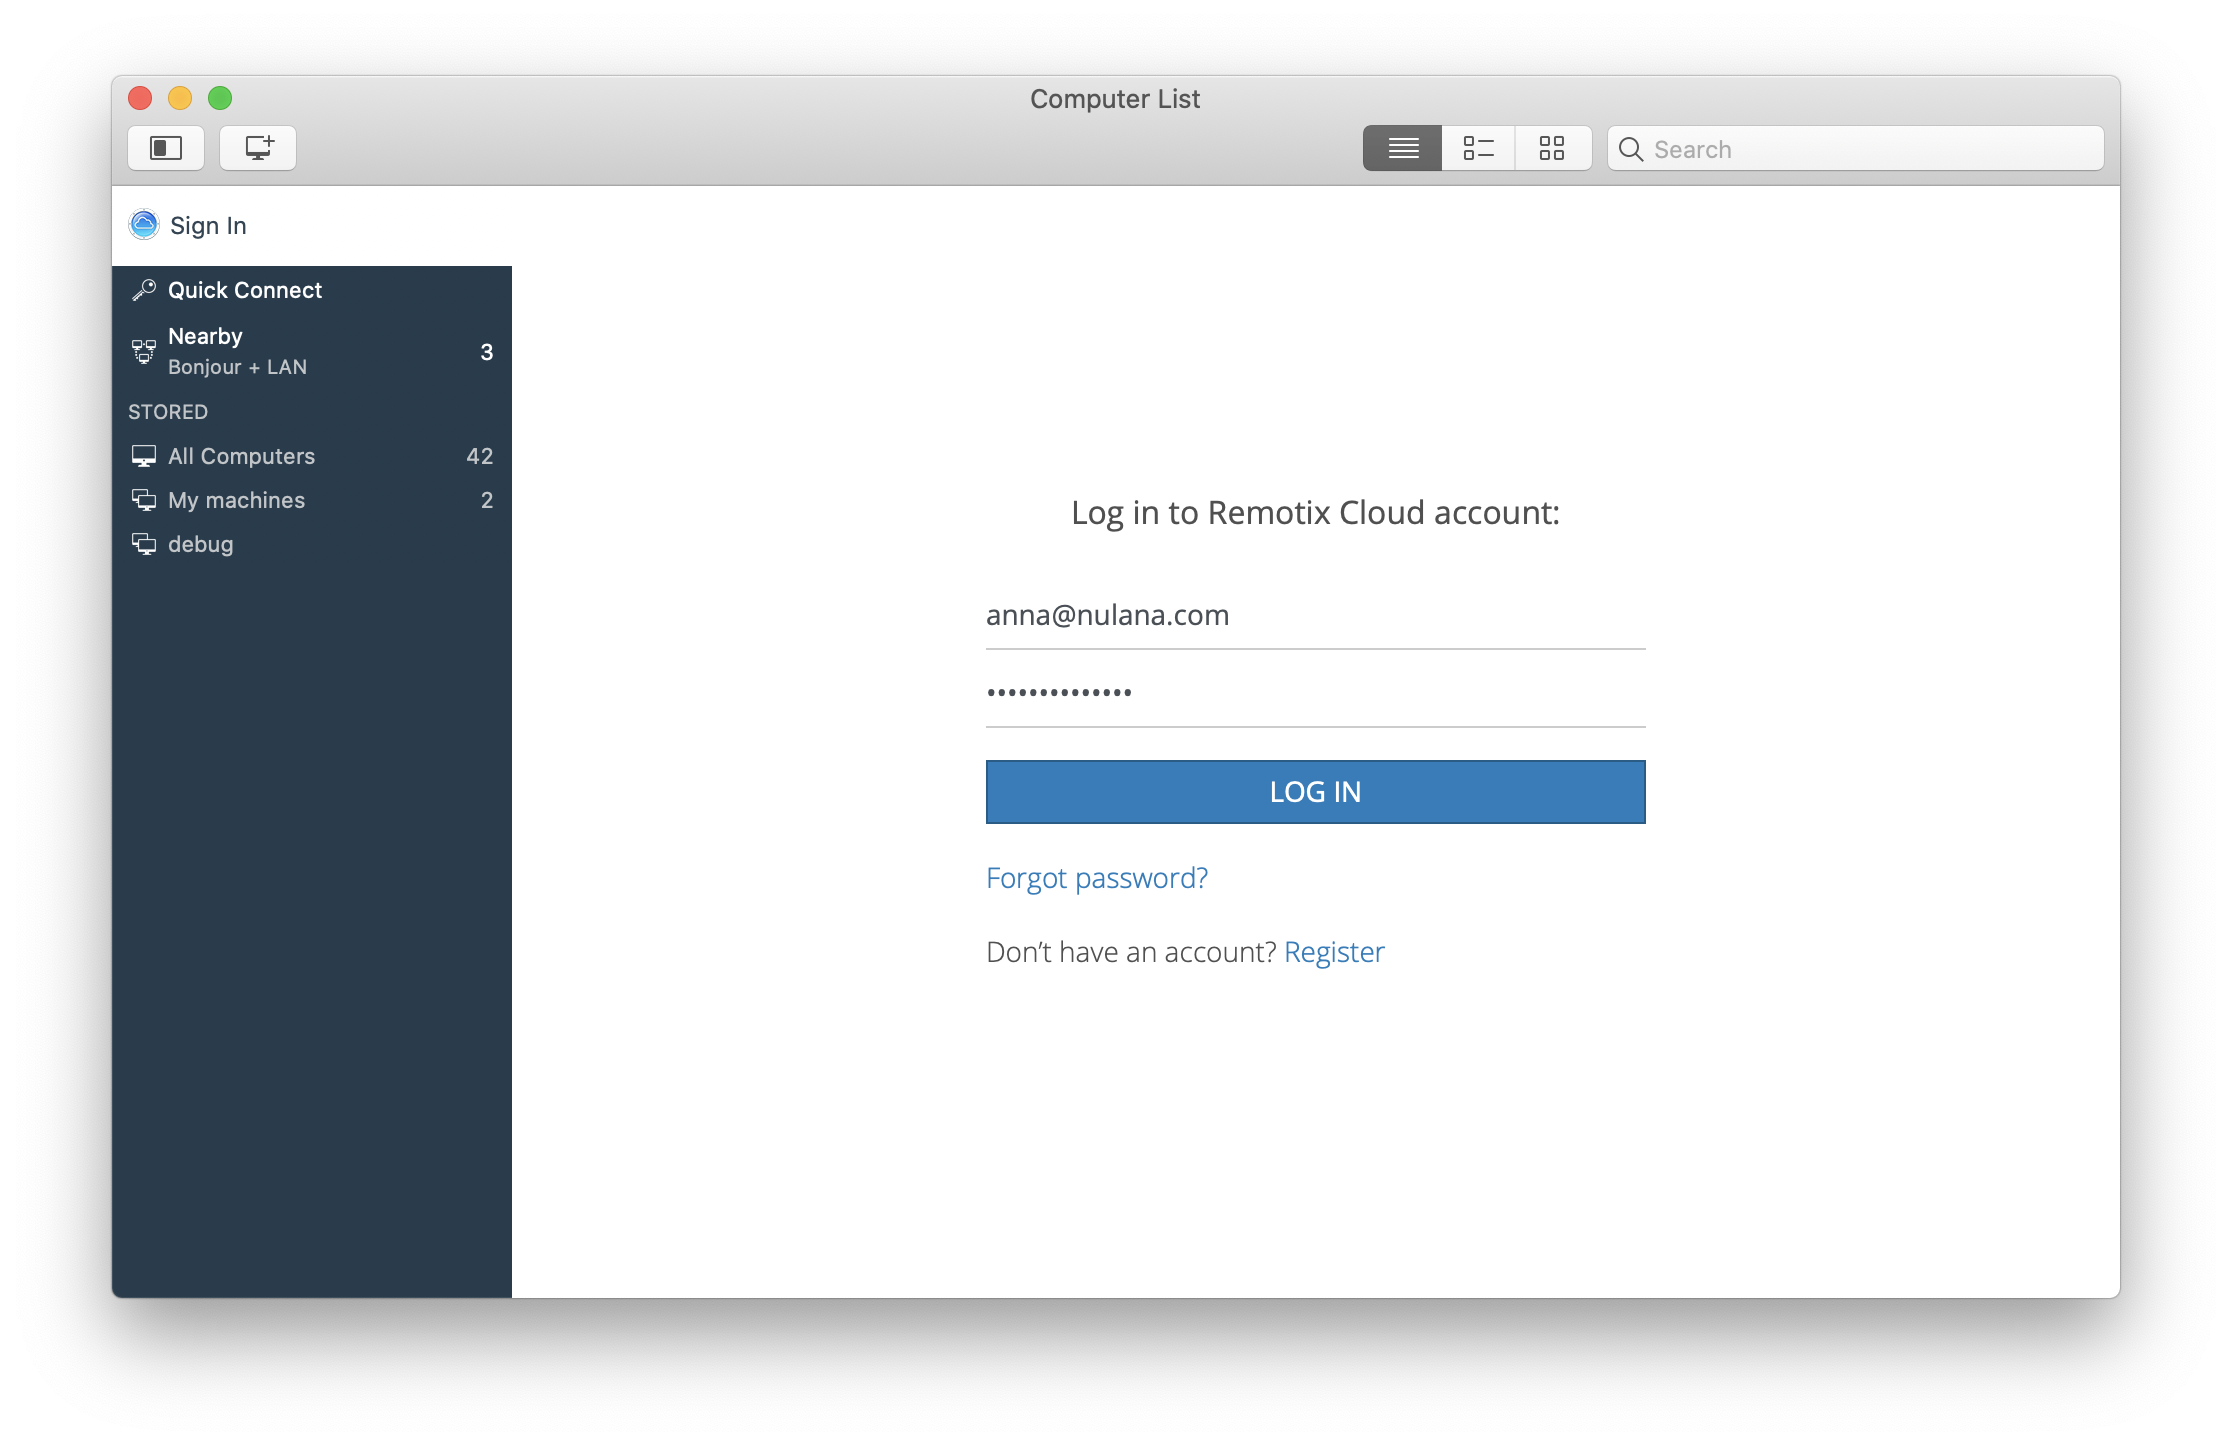
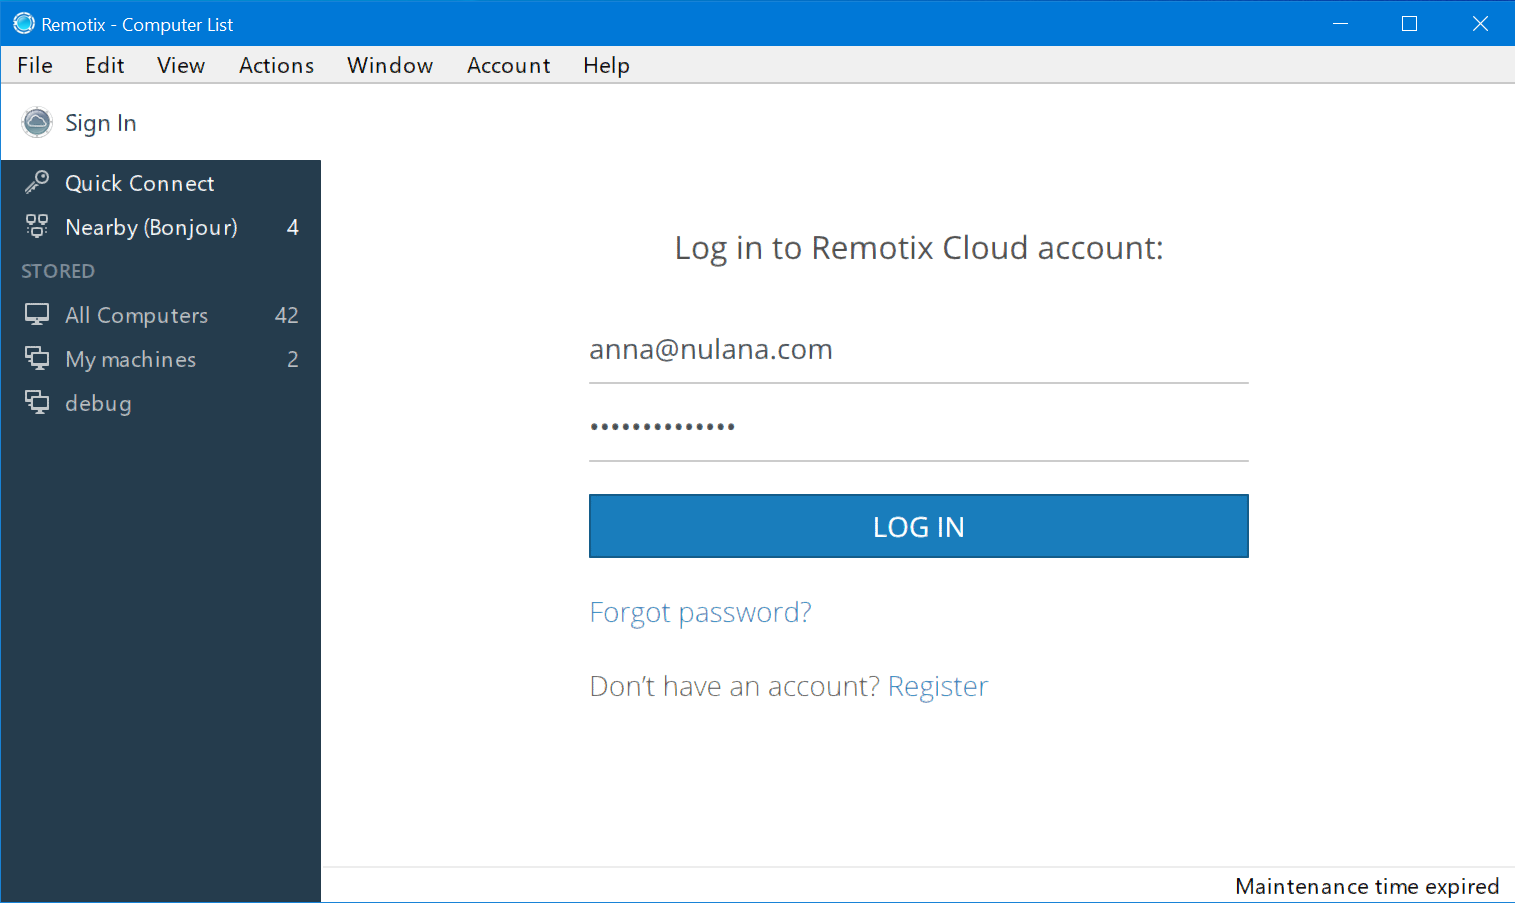
5. Open Remotix and log in with your Remotix Cloud account:
6. That’s it! You now have remote access to a computer running macOS.